Tuesday 19 May 2015

Blogger's Quilt Festival - Jewel Burst

Here's my second entry for the Blogger's Quilt Festival at Amy's Creative Side. My first entry can be found here. I chose to enter my Jewel Burst quilt in the Original Designs category. I just finished this quilt around Easter and I'm hoping to release it as a pattern this summer.


I pulled a stack of jewel toned fabric from my stash and started sketching out designs. I thought of diamonds and then remembered my Hex n' More ruler from Jaybird Quilts. I used it to design the jewel shapes and centre hexagon, which made me think of a sunburst, and so, Jewel Burst. Once the design and measurements were figured out, it sewed together fairly quickly.


I found a deep, vibrant purple for the backing - Kona Bay Hibiscus. This was the first quilt I did any creative quilting on myself, and it was fun to play with the negative space. I did a combination of straight line and free-motion quilting. I love how the front turned out, but I love the back too!


Please go check out the Blogger's Quilt Festival to see the other entries. There are some beautiful and creative quilts. Voting runs from May 22-29, so check back then to vote for your favourites!

Blogger's Quilt Festival - Photo Shoot

It's the Blogger's Quilt Festival over at Amy's Creative Side. Quilts are divided into 12 categories: Mini, Small, Large, Appliqué, Art, Hand Quilted, Home Machine Quilted, Modern, Original Design, ROYGBIV, Scrappy and Viewer's Choice.

I was just thinking this weekend that my the time the local Fall Fair rolls around I'll have a few finished quilts to enter that haven't been used yet. Because, you know, once it's in use, something is bound to get spilled on it, and I'm okay with that. While blog surfing, I came across a few entries to the online festival and thought I might as well enter! 

It was hard to choose which two quilts to enter, so here is my first entry, in the Appliqué category:

"Photo Shoot"


This quilt was the first one I posted on my blog, last July. It's an original design and my first appliqué project! It started with one block and evolved as I went. I just realized I'm snuggled under it right now as I type. Here are some photos of my process and the quilt's evolution:

It was a long project, over a year to make. It started out with a little inspiration – reading, taking pictures, looking at fabric, surfing blogs. I sketched some cameras then drew them to scale and designed a camera template.


I learned to applique and started with one block.  


One block turned into eight, learning new stitches for applique on my machine as I went.


Almost all of the camera fabrics are from previous projects.


Then I went back to the graph paper to do a little more math – ratios and percentages and scale drawings – to make a giant pieced camera.


Next came the photo blocks – looking at my own pictures to design photos from photos. With some more calculations, colouring and drawing, I finalized a layout and put it all together.


I took it to my local long-arm quilter who did some amazing custom quilting and tuned it into this.


Here are some close-ups of the blocks and the quilting.


 I could go on and on but this post is already too long! To see the previous post about this, go here.
Please go check out the Blogger Quilt Festival to see the other entries. There are some beautiful and creative quilts. Voting runs from May 22-29, so check back then to vote for your favourites!

Saturday 16 May 2015

Edge Tote Tutorial

After sewing up a bag for Mother's Day, I decided I could use a new bag after all. I wanted a big, durable bag to carry to school. I had some old sketches for a bag with a pieced block and an outer slanted pocket and decided to incorporate the pocket.


For durability and a bit of structure, I used quilting cotton with some batting and cotton twill I had as interfacing, all quilted together. I lined it with cotton too. For the straps, I used cotton and batting.

I took pictures of some of the steps as I went, so here's a sort of step-by-step of how I put it together.


Fabric requirements:

Cut: rectangle 20” x 18 1/2”
- outside front fabric (x 1)
- outside back fabric (x 1)
- batting (x 2)
- cotton twill for interfacing (x 2)
- lining fabric (x 2)

Cut: rectangle 17” x 18 1/2”
- pocket front fabric (x1)
- pocket lining fabric (x 1)
- batting (x 1)

Cut: rectangle 5” x 26”
- strap fabric (x 2)
- batting (x 1)

All the pieces except the straps
1. Match your two lining pieces right sides together and sew 1/2” seam along the sides and bottom. Leave a 3-4” gap around the middle on one side. Set aside.

I forgot to leave the 3-4" gap on the side
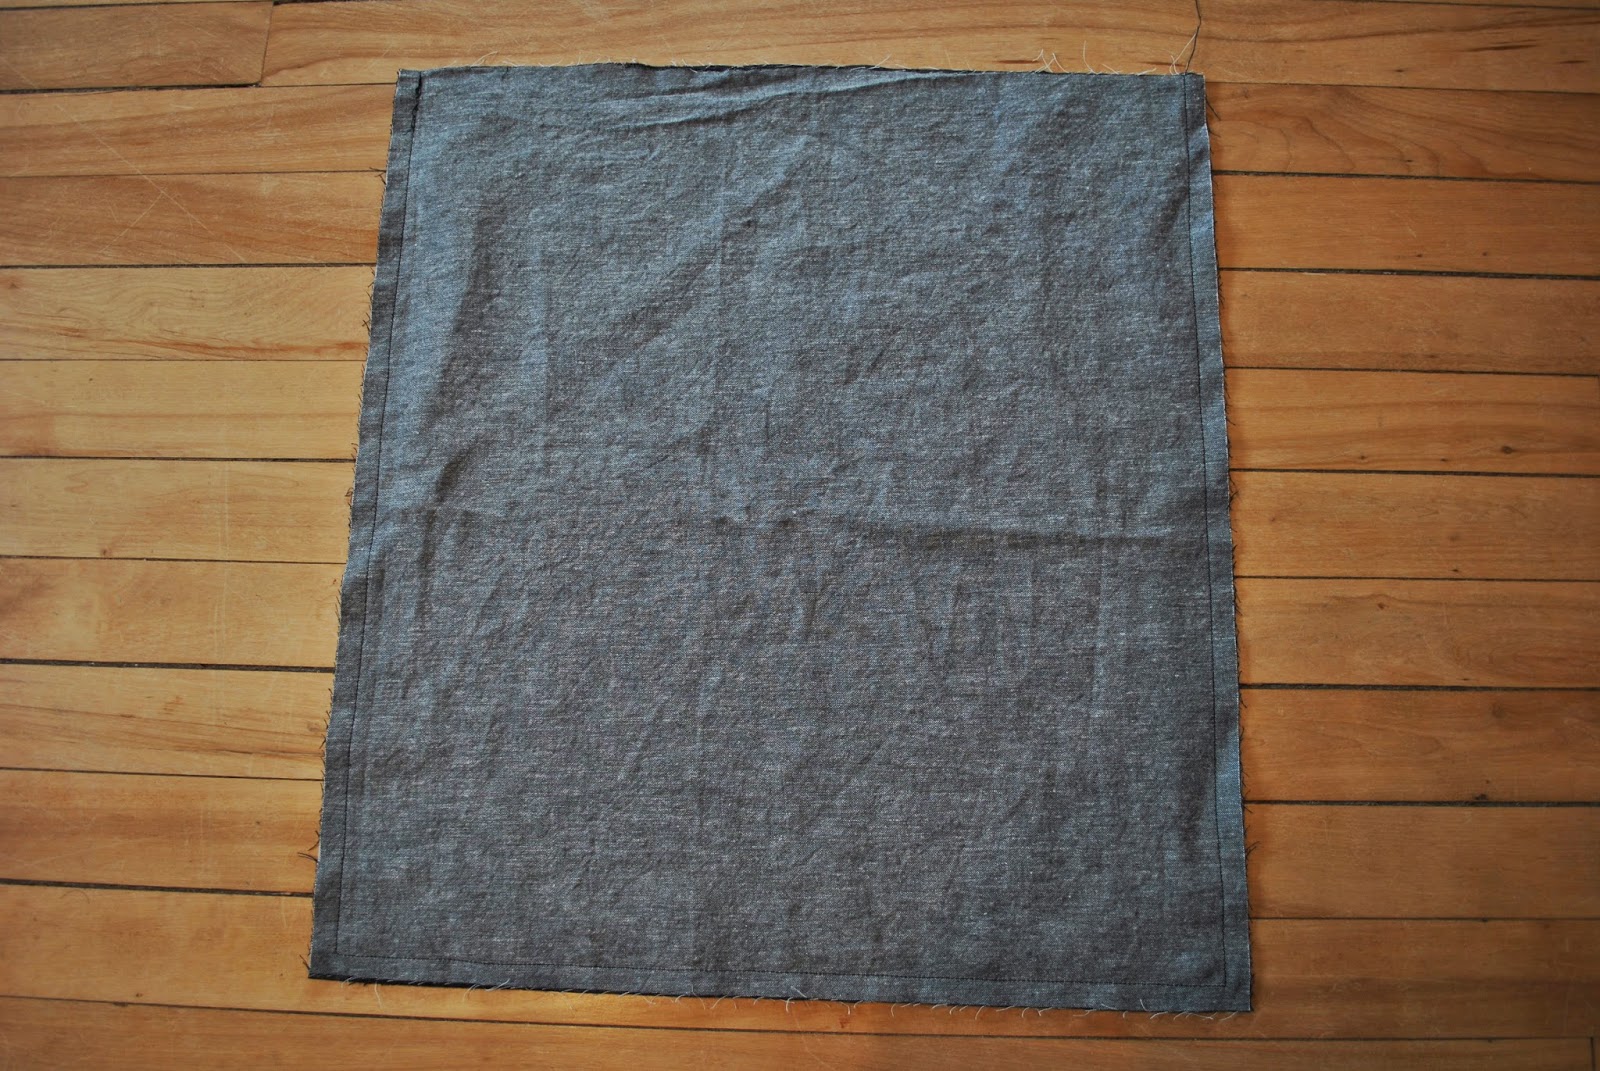
2. Make a quilt sandwich with your outside back fabric, batting and interfacing. The fabrics should be right sides out. Press and pin along the edges. Make another quilt sandwich with the outside front fabric, batting and interfacing, same as before. Set aside.

Love those Wonder Clips!
3. Make a quilt sandwich with your pocket piece, batting and pocket-lining piece. The fabrics should be right sides out. Press. Using a rotary cutter and ruler, place one edge of your ruler at the top left corner of the fabric and the other edge partway down from the top right corner. You can choose the angle, but it should be less than 40 degrees. Cut the fabric. Now take your pocket lining piece and place it on top of the front pocket piece, right sides together. It should be batting, then pocket front, then pocket lining. Match up the top, angled edge, pin and sew with 1/4” seam. Press your fabric open and behind the batting. Topstitch along the finished edge.

Cut at an angle
Right sides out
Topstitch
4. Time to quilt each of your three quilt sandwiches – the front, back and pocket pieces. I went with straight lines at different angles. To help you keep straight lines, cut a piece of painter’s tape about 30” long. Lay it on your fabric to make your lines. Then, match your presser foot up with the edge of the tape line and sew along it. I like to keep the tape to the left of my foot.

Puckered a bit - forgot to press
For the pocket piece, avoid making any of your quilting lines end at the top finished edge of your pocket piece. This will keep your topstitching nice.

5. Baste your pocket to the outside front of the bag, along the sides and bottom. Now match the outside back to the front, right sides together. It should be outside front, with pocket on top, then outside back on top. Sew along the sides and bottom with 1/2” seam.

6. To box your corners, pinch the bag at the bottom corner, lining the side edge up with the bottom edge, so that it makes a triangle shape, with the corner of the bag the point of the triangle. Using the 45 degree marking on your ruler, line the 45 degree lines up with the edges of the bag and mark a line 3” in from the point with a marking pen. Sew along the line, backstitching at each end, then cut the point off with 1/2” seam. Repeat for the other corner, and then do the same with the corners on the bag lining. 

*I neglected to take pictures of this, but if you look up 'how to sew boxed corners', you'll find some short videos and good photo tutorials. 

7. For the handles, cut your batting piece in half lengthwise, right sides out. Fold your fabric in half lengthwise and press. Then open it up and press the edges towards the centre. Unfold it and place the batting in the middle, folding the edges over top of it. Now fold it in half lengthwise again, press, and pin along the open edge. Topstitch along each edge of the handle and stitch a line down the centre. Repeat with your other handle.

mmm... topstitching!
8. Turn the outside part of the bag right sides out. Place one of the ends of a handle 3” from the left edge of the bag, with the raw end lined up with the raw edge of the top of the bag. Pin the other end of the handle 3” from the right edge of the bag. Make sure your handles aren’t twisted. Repeat on the other side with the other handle. Stitch back and forth about four times at each of the handles with a 1/4” seam to attach them to the bag.

9. Put your lining piece around your outside piece, so that the two parts are right sides together. The handles will be on the inside, with just the raw ends showing. Pin around the top of the bag, making sure your handles are going straight down inside. Sew 1/2” seam along the top of the bag. Pull your bag through the 3” gap in the lining to turn it right side out, tucking the lining in. Press the top edge and topstitch around the top of the bag. Then, you can either hand stitch or machine stitch the gap in the lining closed.


Modifications and ideas:
- I made my pocket 2” shorter than written here, but wanted to make the adjustment for the next bag.
- Denser quilting would make the bag more stiff.
- If the pocket is sagging too much, you could add a buttonhole to the pocket piece and sew a button to the front of the bag to keep it closed.
- You could also add a magnetic closure to the lining of the bag before you sew it to the bag. I would place it in the centre, 1 1/2” from the top edge. Maybe one for the pocket as well.

The pocket fits a couple magazines quite nicely
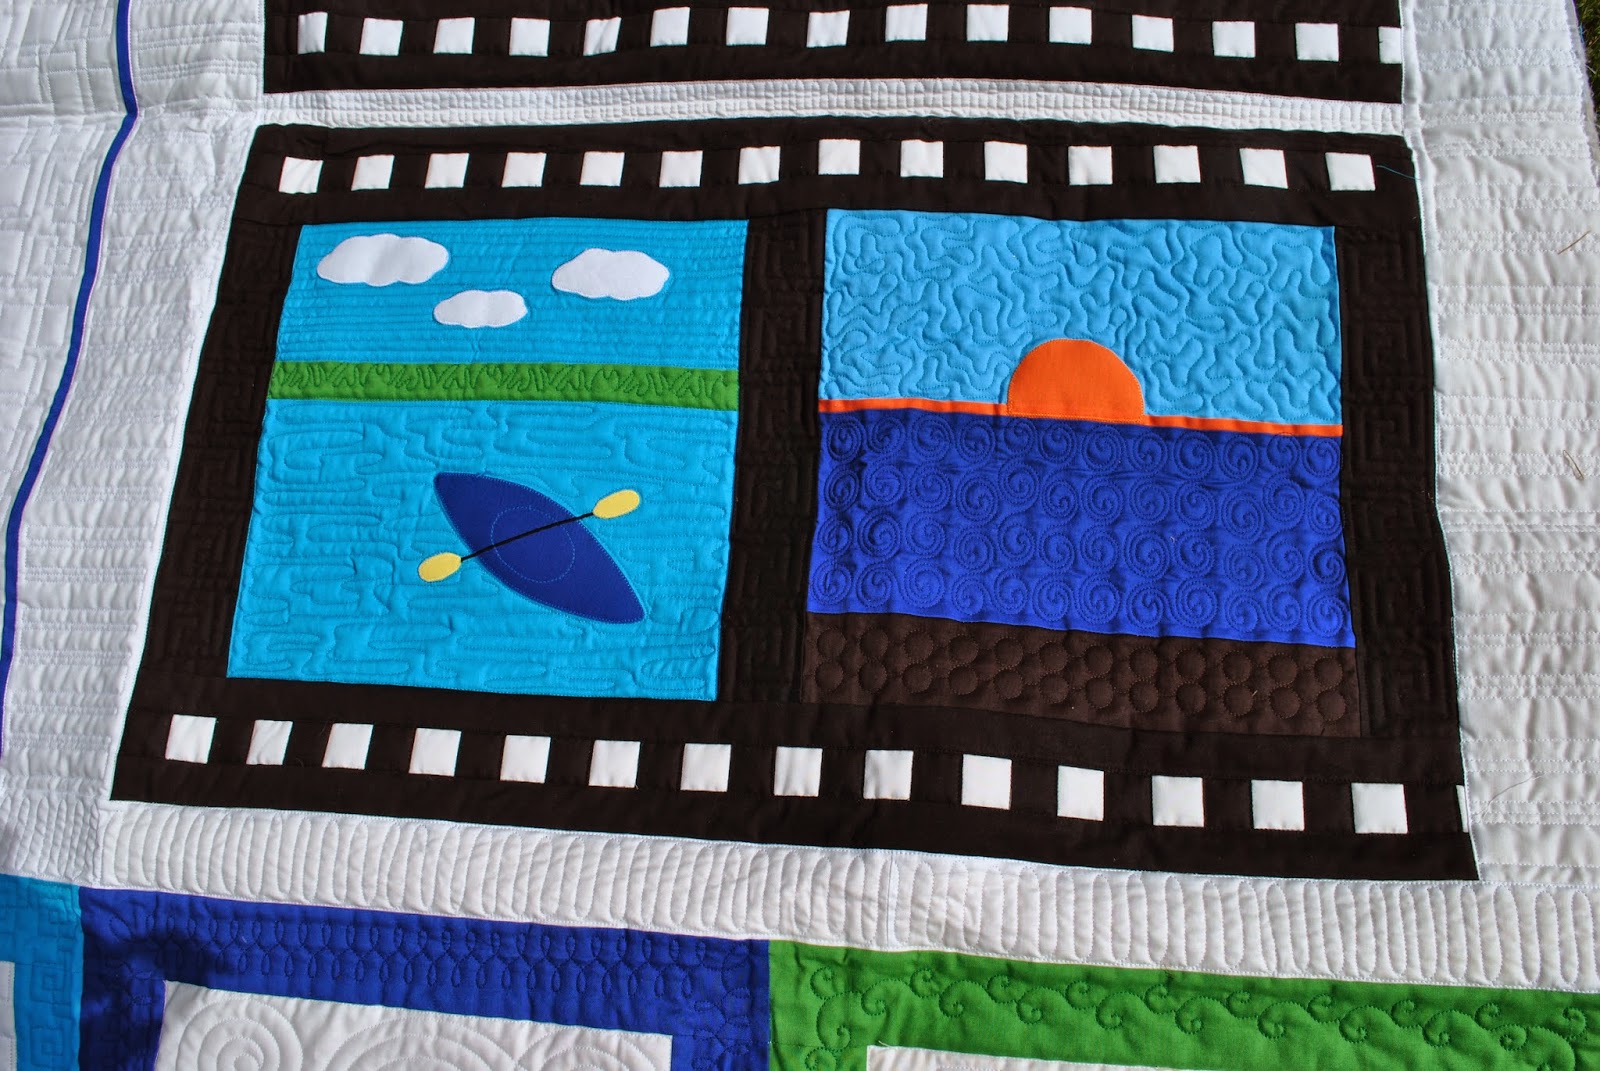
Overall, I've found the bag nice and roomy; it fits my running shoes, gym clothes, lunch and water bottles easily. I think this is going to be a fairly quick to sew, go-to pattern for me, good for many fabric combinations. Perfect to throw things in for a day at the lake too. It happens to match my kayak, with its green deck and black hull. Coincidence?

Swift Saranac 14'  - first paddle of the season :)
Everyone sews bags to match their kayaks, right?

Feel free to contact me with any questions and if you make one of your own Edge Totes, please share!

Happy sewing...and paddling ;)


Linking up with Fabric Tuesday and Sew Cute Tuesday

Sunday 10 May 2015

Mother's Day Tote Bag

Marni of Haberdashery Fun posted a tutorial for Asymmetrical Color Block Totes over at Sew Mama Sew recently and it looked like a fun design. I said, ooh, who has a birthday coming up?, as I have a lot of bags already, and was quickly reminded Mother's Day was coming up.

The pattern makes a small tote bag and was a pretty quick sew. I used two fat quarters of Botanics for the top. I've been saving the teal one for some sort of wearable project, so I thought this bag would be perfect. The grey bottom is an unidentified sale fabric and the lining is a quilting cotton in a lighter teal-green from my stash. The colours aren't quite right in the photos.

I liked the pattern, it was easy to follow with step-by-step pictures. I did forget to reinforce the handles (oops) and in the future might increase the measurements for a bigger bag.


After making this one, I decided I may need another big bag for school and things, so stay tuned for another post this week!

Tuesday 5 May 2015

Learning EQ7

I recently bought EQ7, as I'm interested in writing patterns. If you haven't heard of it, it's a computer program to design quilts. I watched one video tutorial, then wanted to get right to designing! I'm impatient, I tell you. The impetus for buying it was to write a pattern for my Jewel Burst quilt. But, well, I hadn't taken detailed enough notes and I wasn't sure where to start and there was a new quilt to design... so I figured it would do another quilt first. I started a few different quilts before realizing I needed to skip the traditional layouts and go straight to custom. There would be time to learn those later. It took some reading of the manual, using the help menu and getting tips from other users, but I started to figure it out.

Learning that the usual Mac shortcut keys (such as copy and paste) worked the same made it much easier. As did learning how to make blocks, flip and rotate and align. So far, I've finished a pattern for one quilt. And then realized how much fun and easy it was to try out different colour combinations in the blocks! Which gave my one pattern a dozen or more variations that completely change its look. I'm working on sewing up the original quilt now and have a couple other people testing my pattern out to see how it works. I'm hoping to release the pattern in July.

I'd like to keep the quilt a secret for once, but here are a few scenes from the sewing space:

Pinning some parallelograms on my bed
Fabric pinned and stacked, ready to sew
Supervising from her blanket
Blues and browns
Being a good girl, staying on her blanket and off my quilt!
Quilting and cat photos! Good thing this is on my sewing blog and not Facebook - people might start un-friending me!